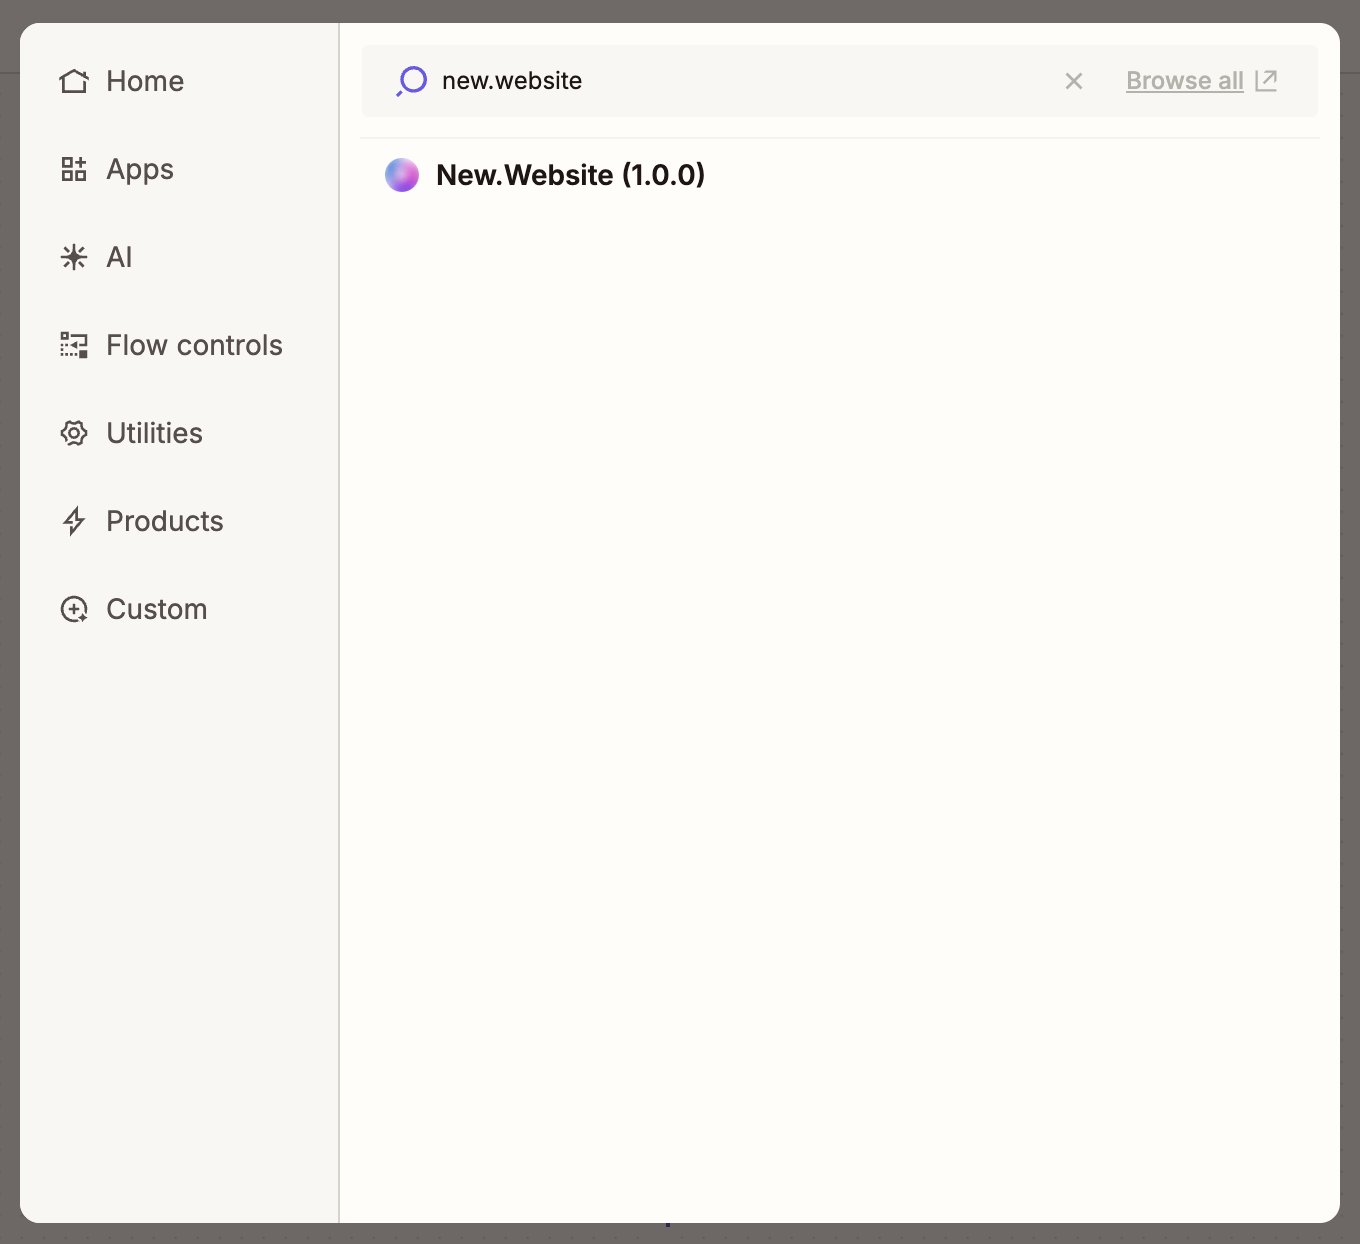
Connect with Zapier
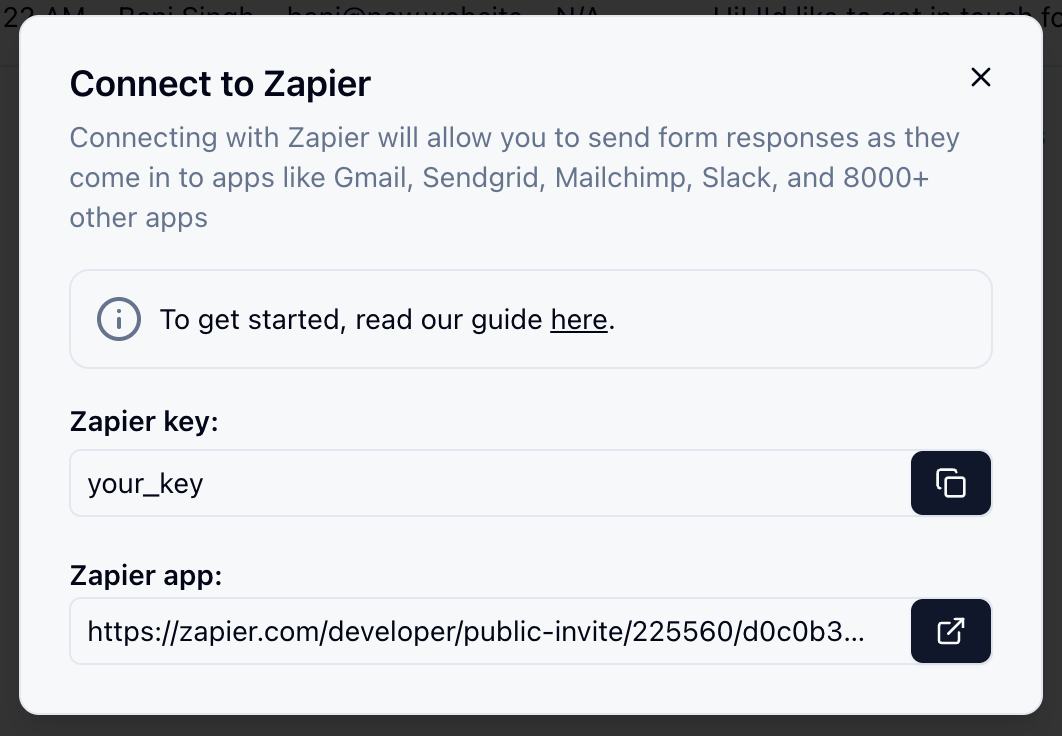
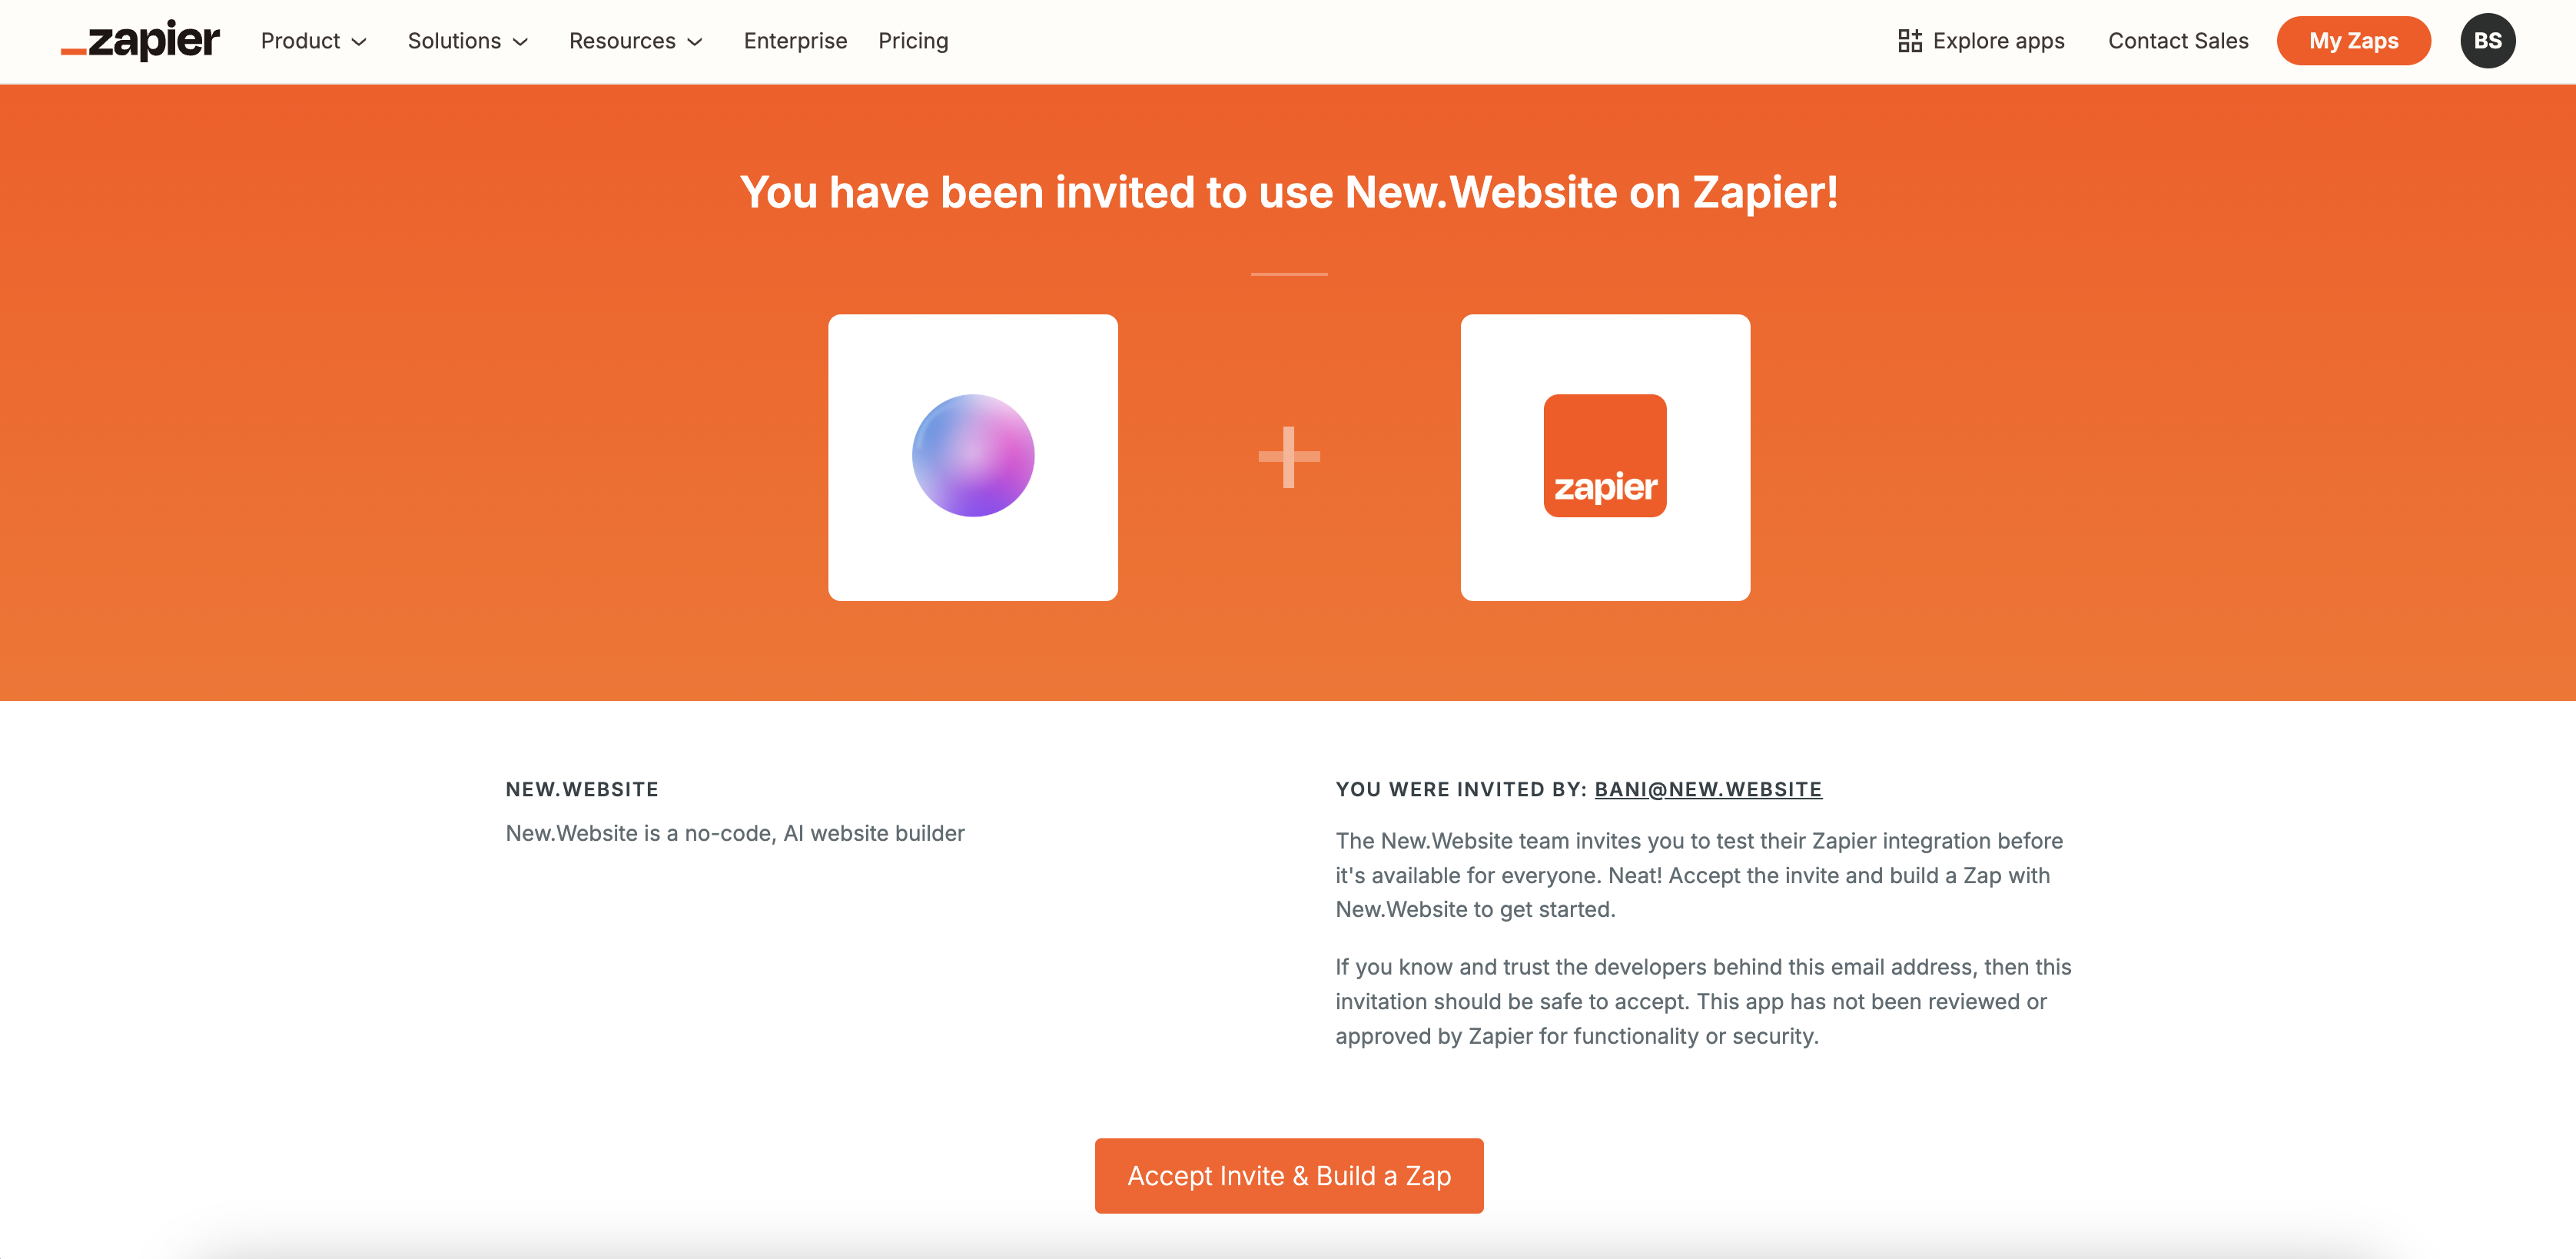
Go to your project and navigate to Form Responses, then click “Connect with Zapier” button and then click on the Zapier app link at the bottom.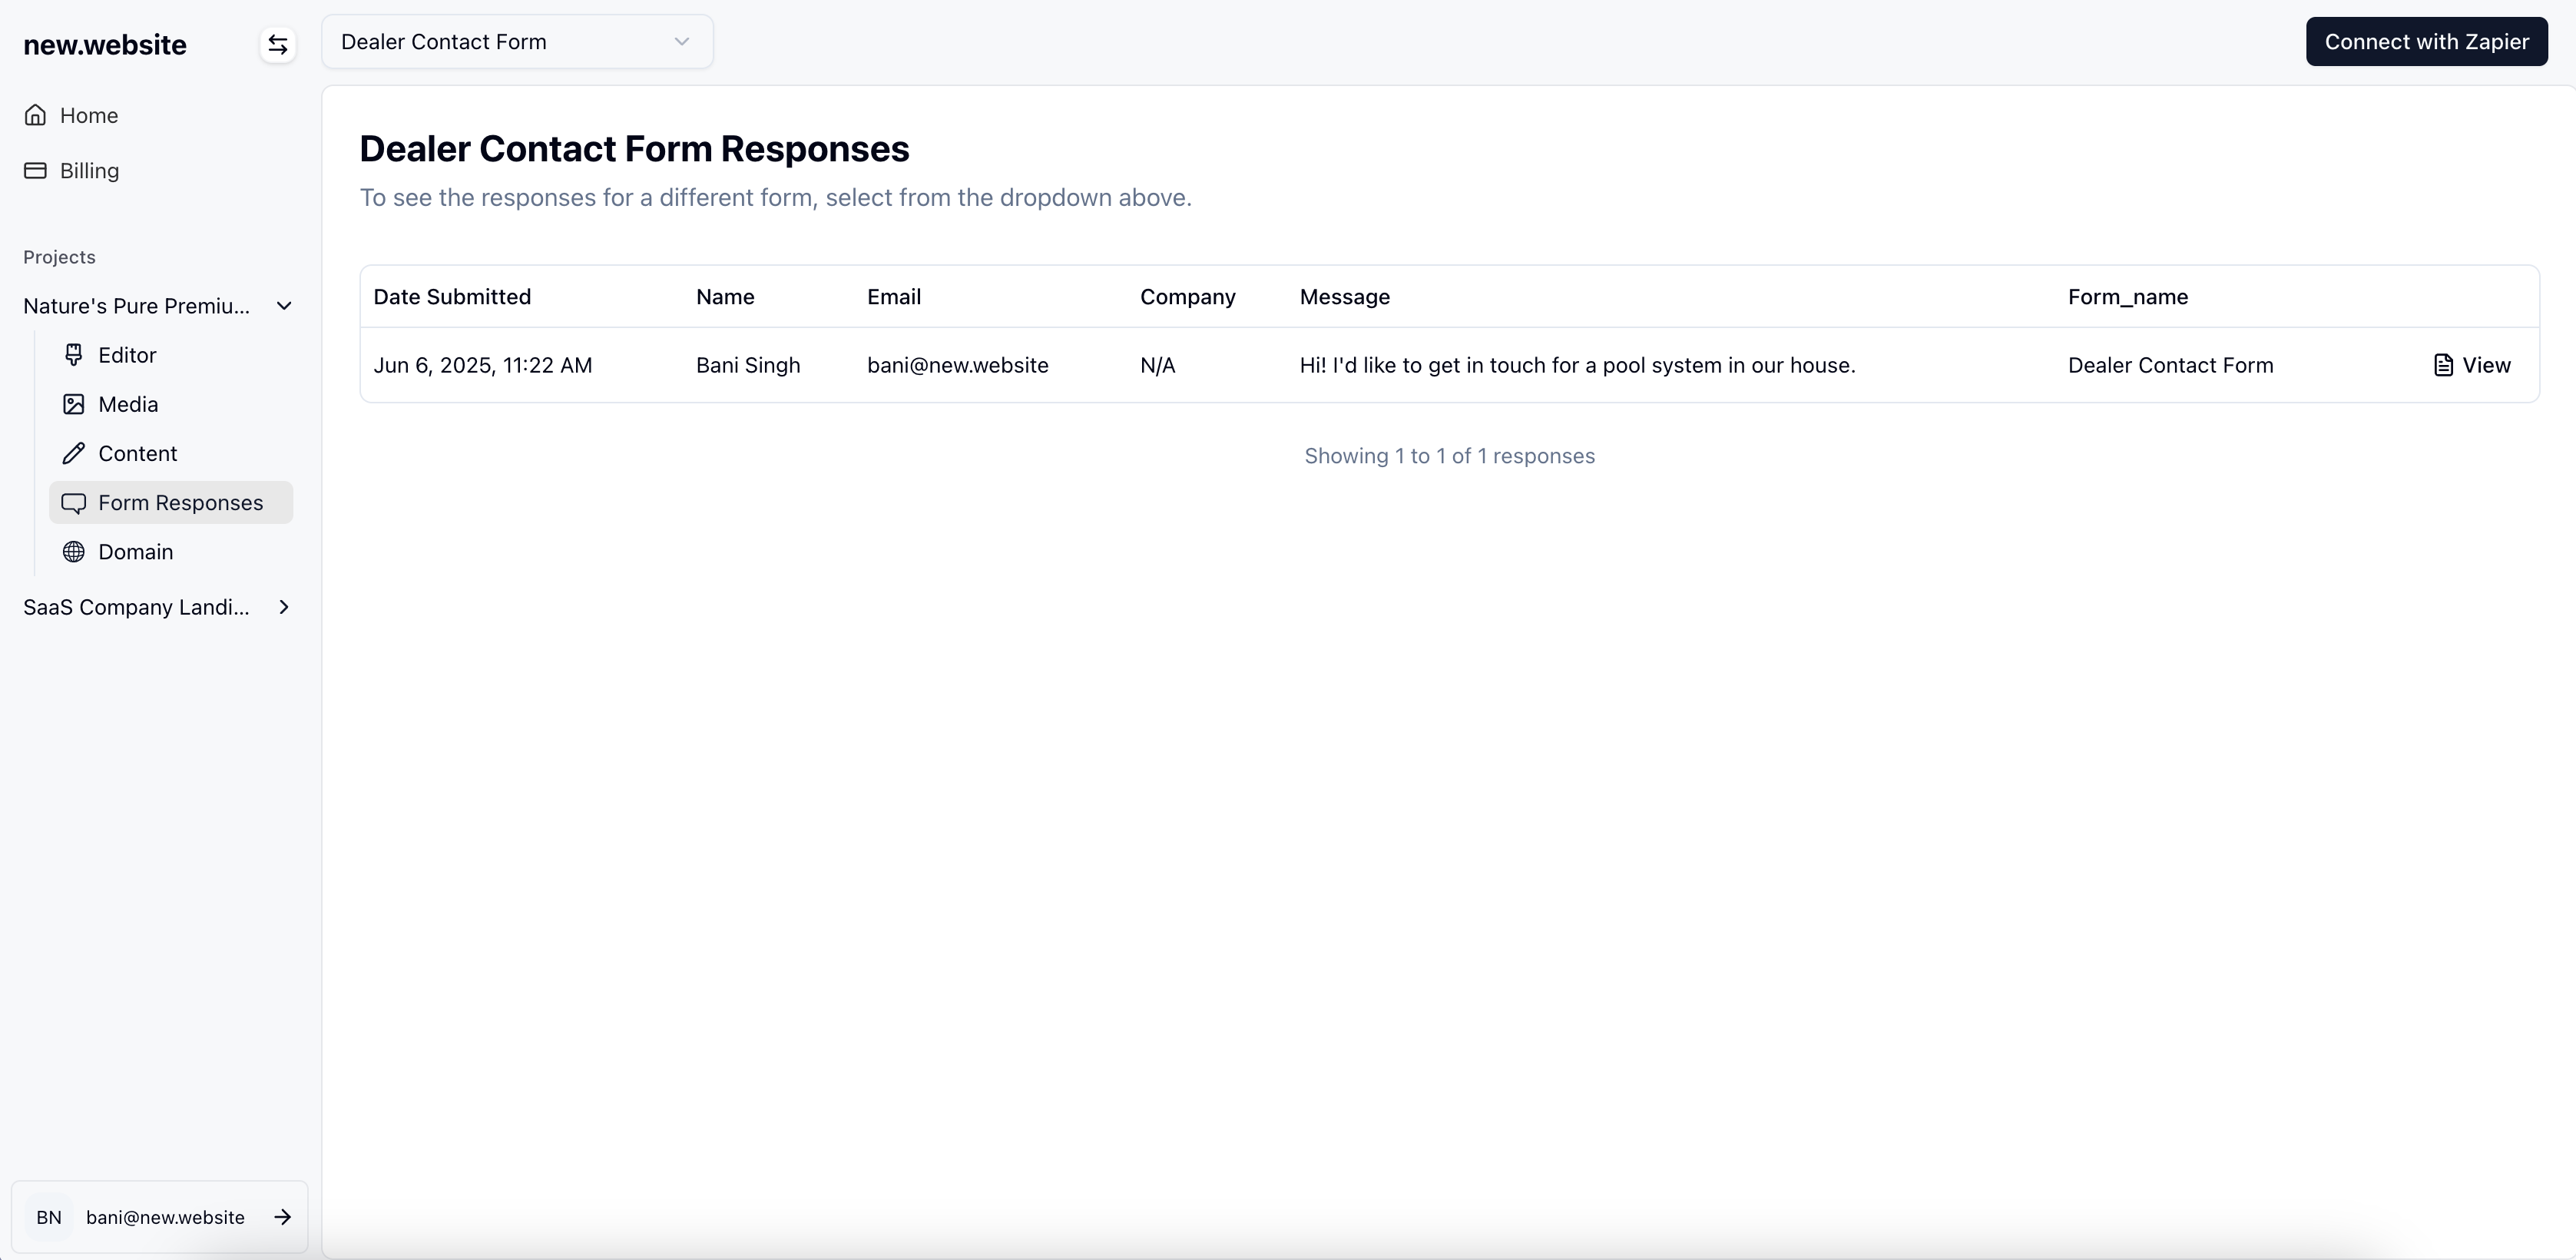

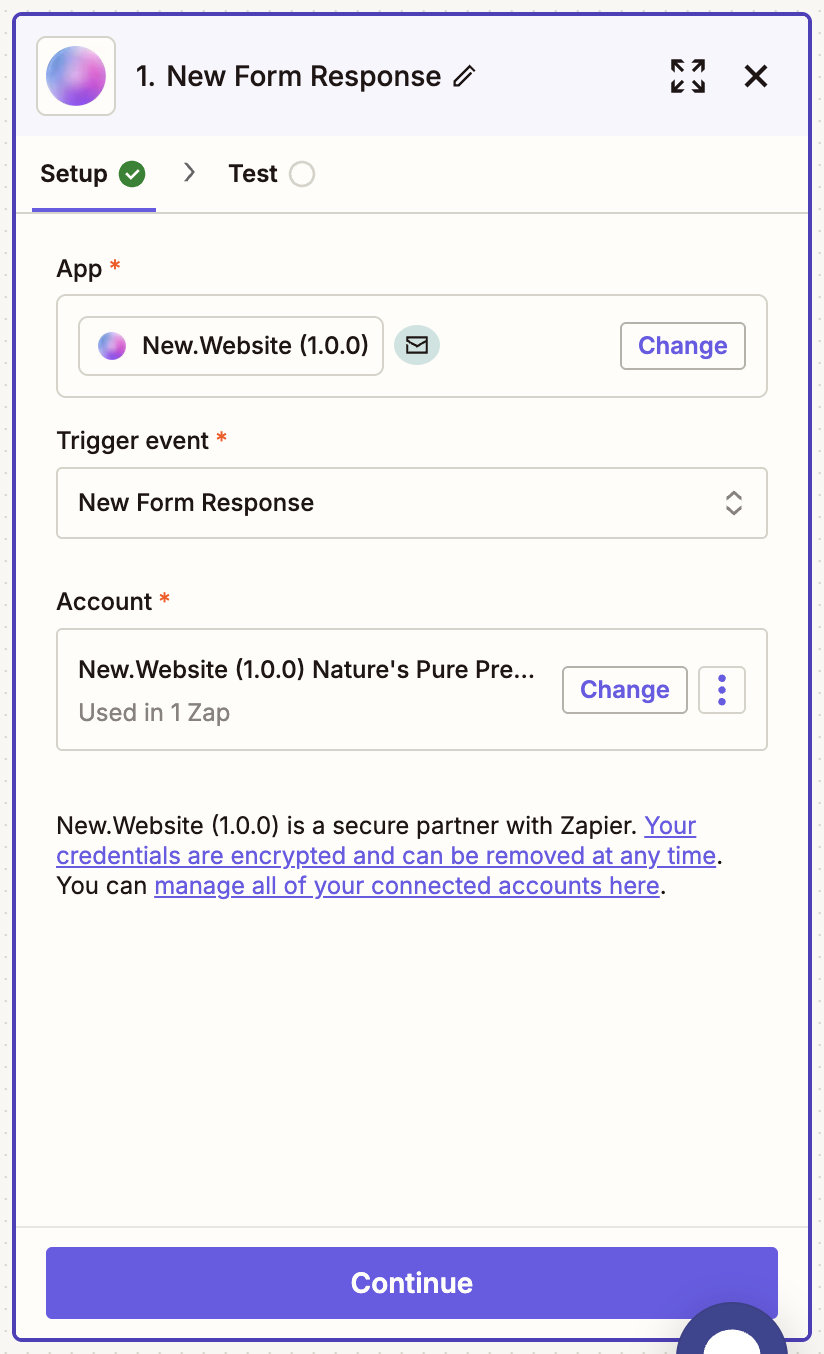
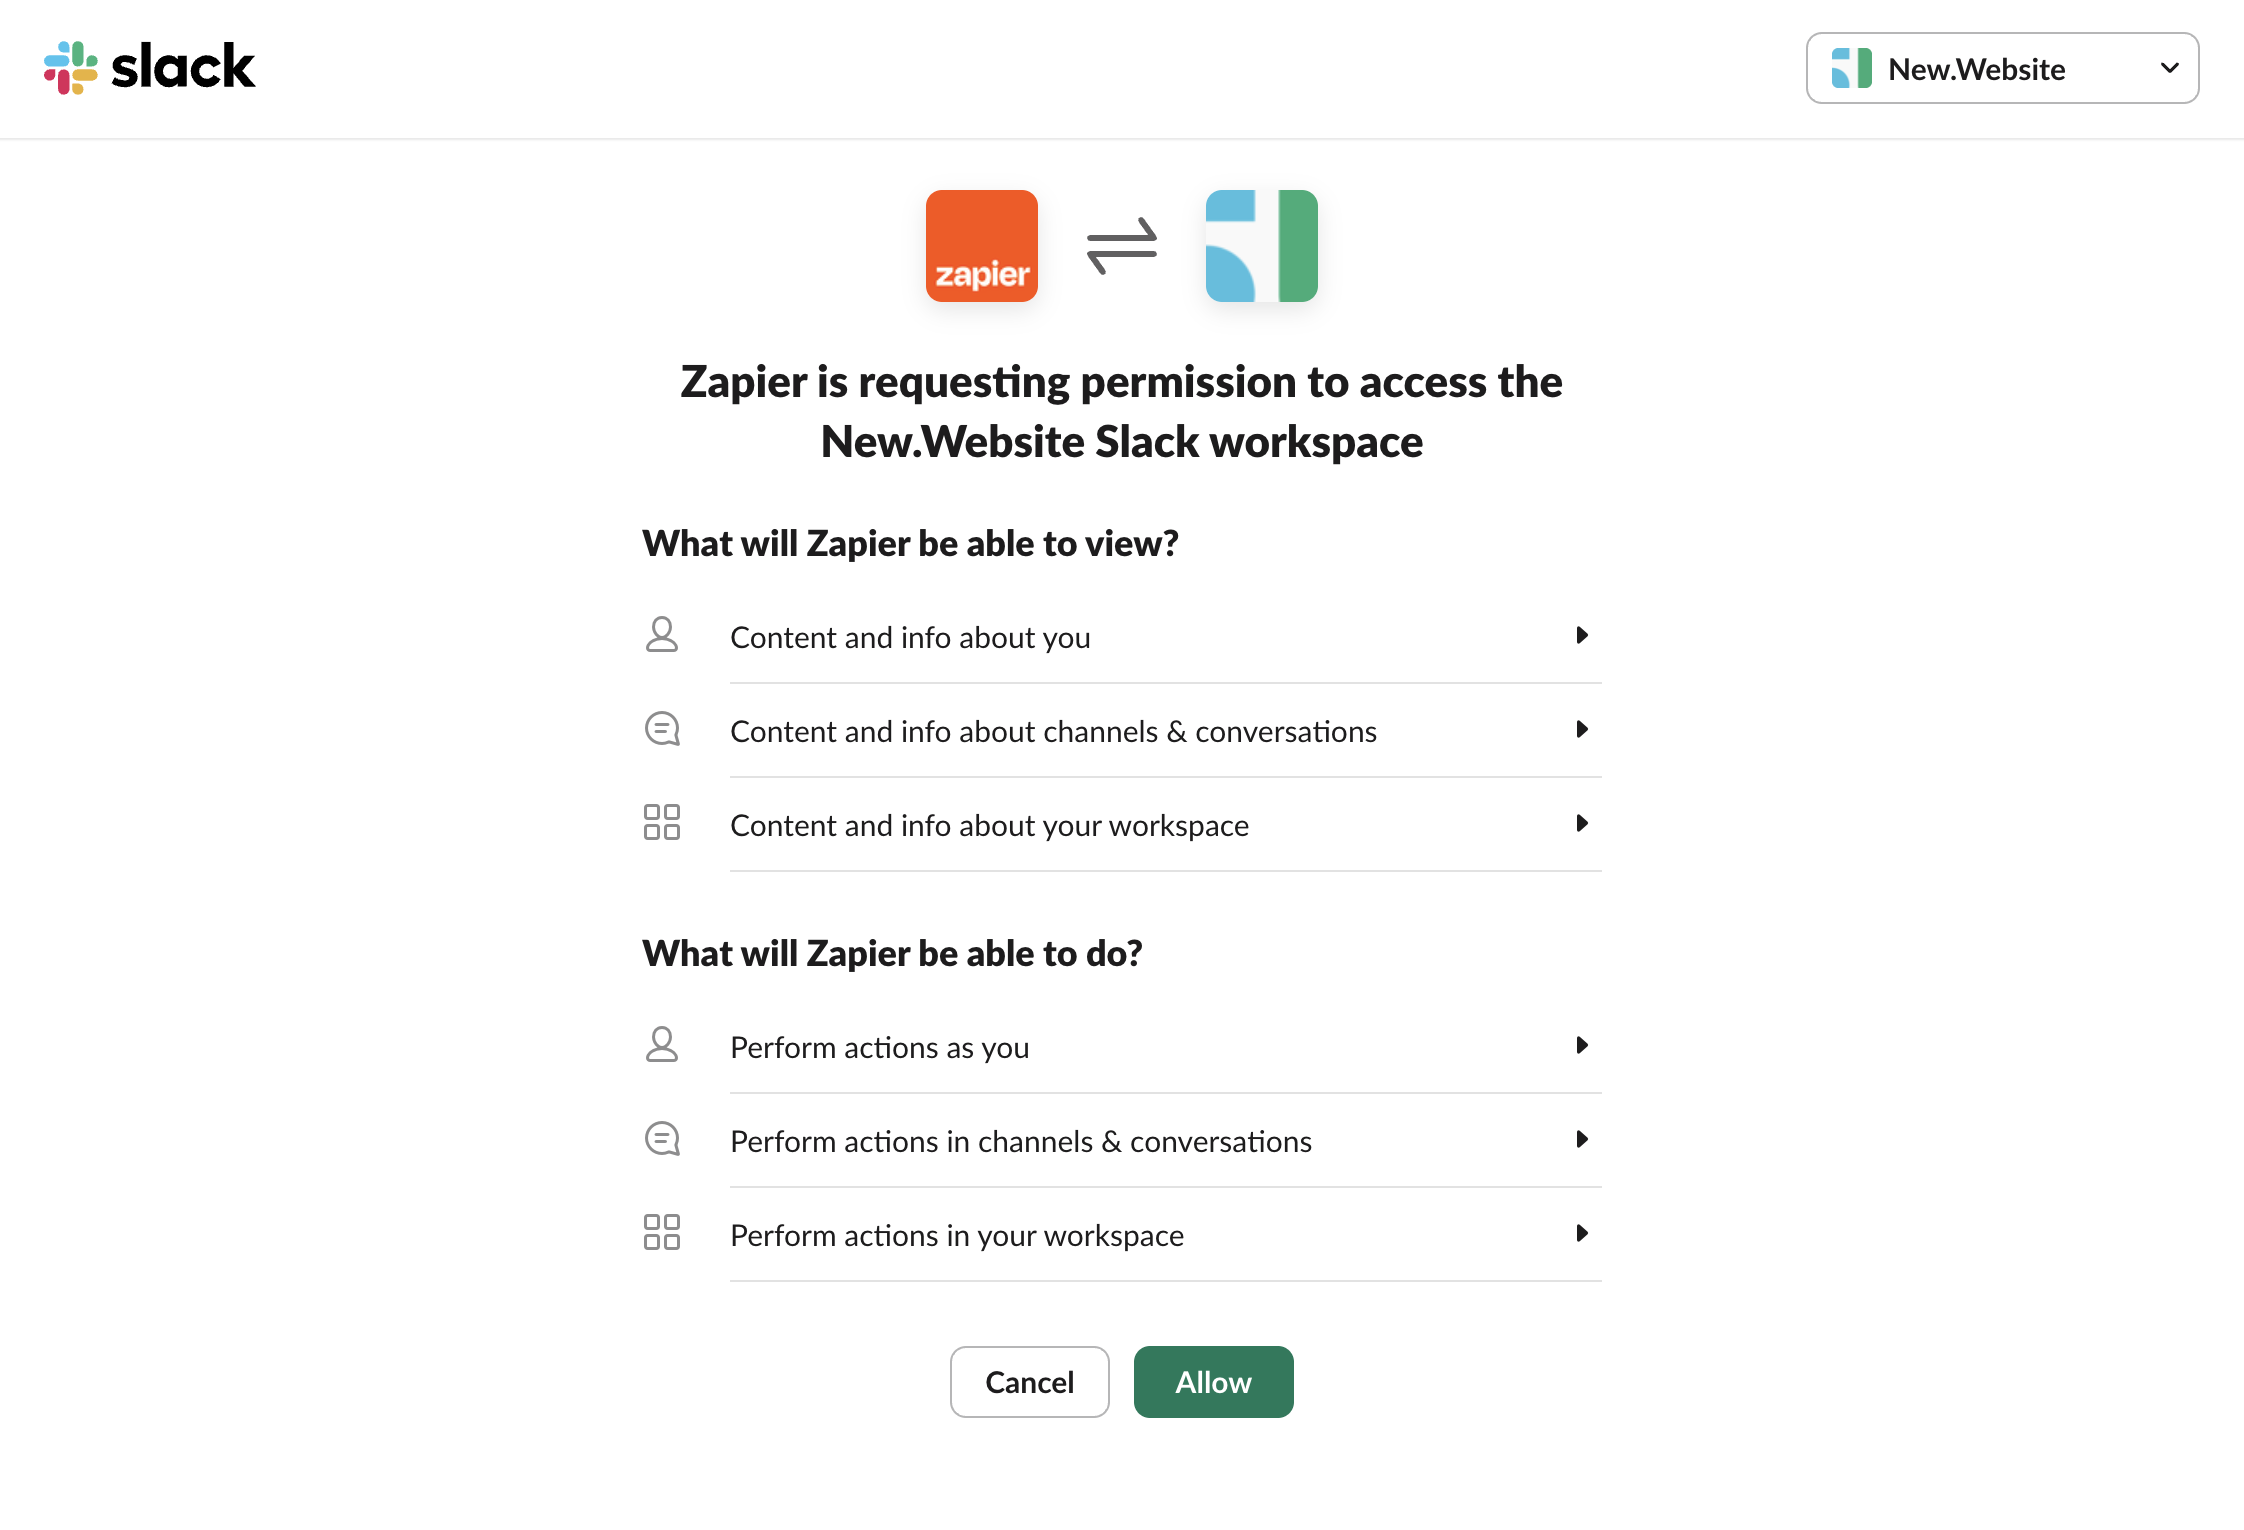
Connect Your Account
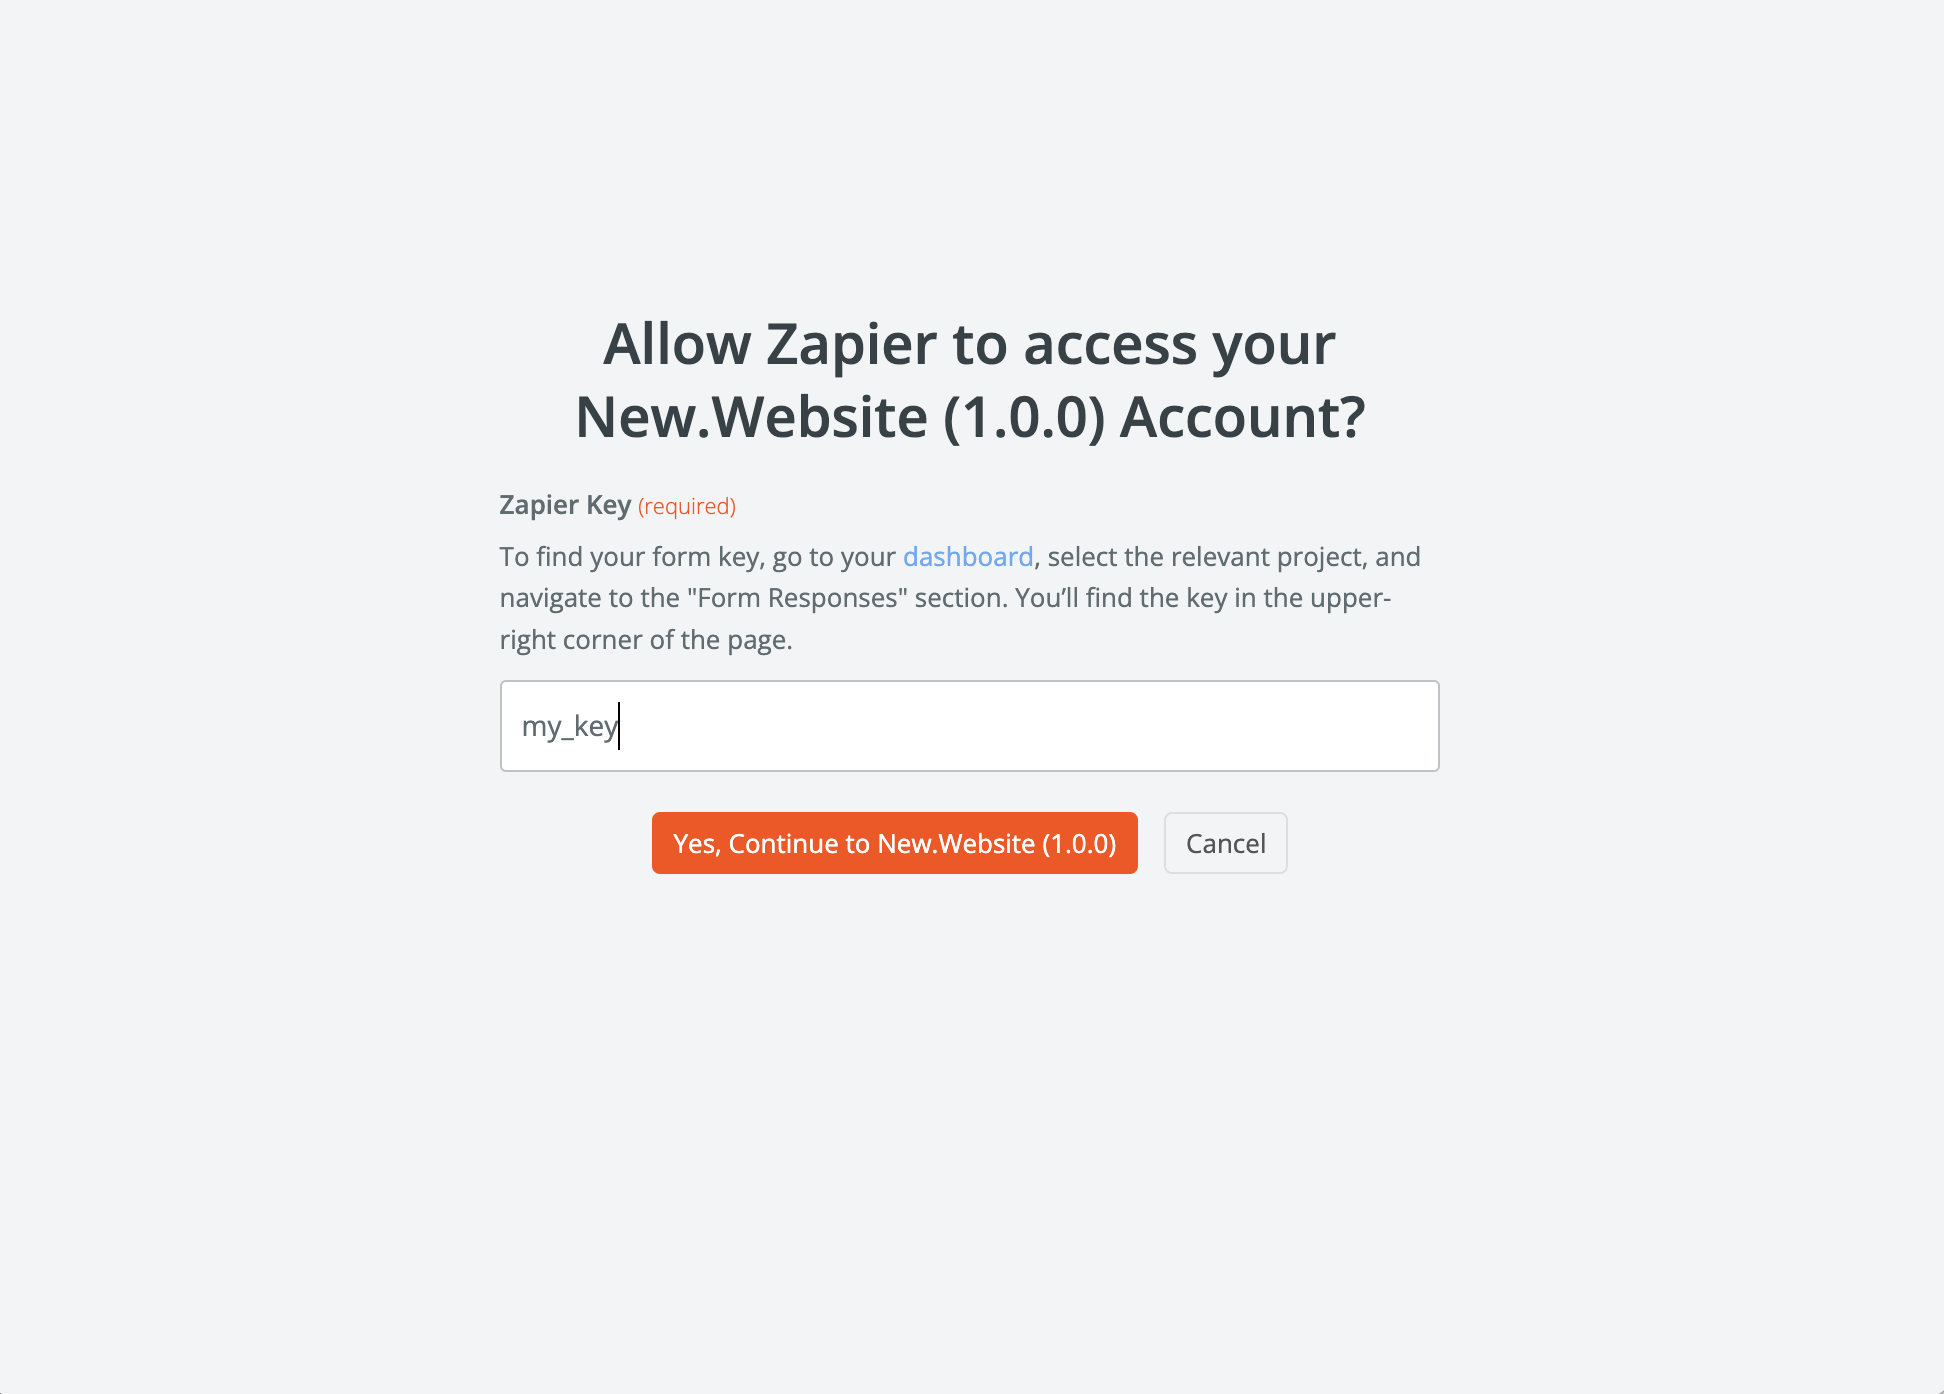
Step 7.1: Sign InClick “Sign in” to connect your new.website account.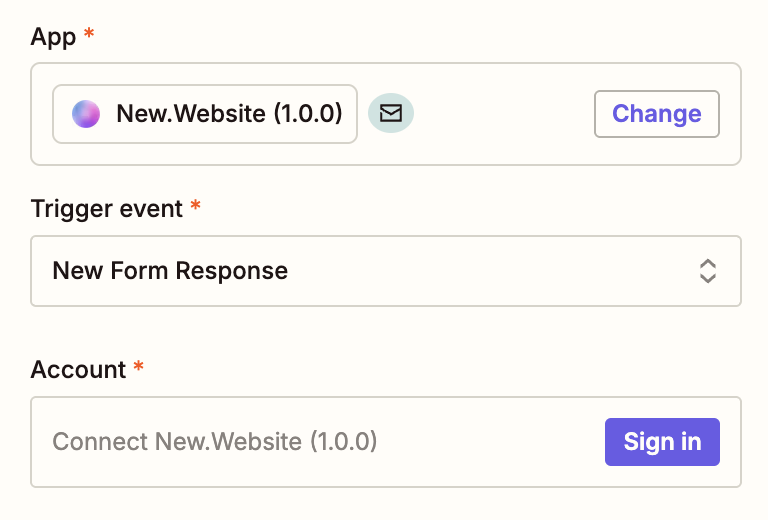

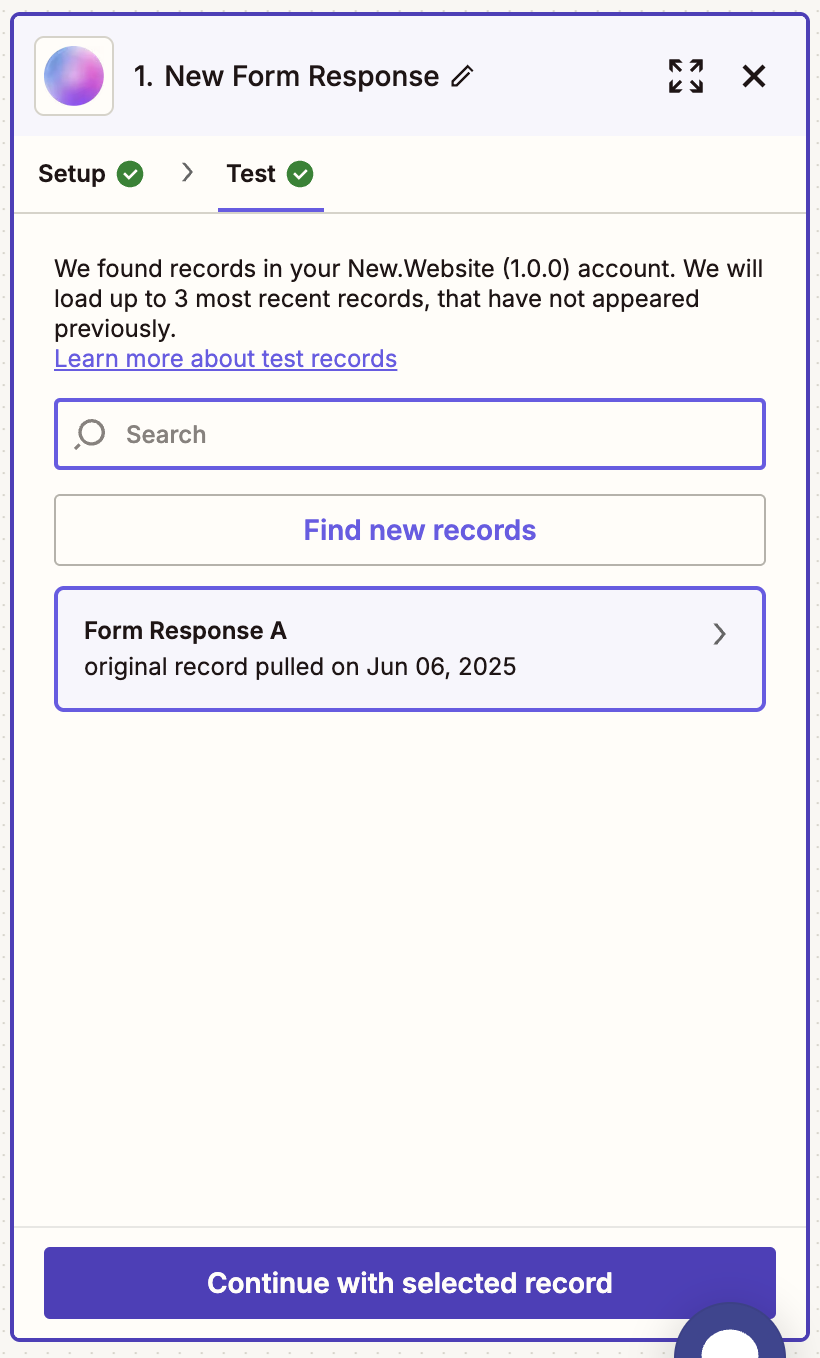
Test Your Trigger
Step 8.1: Start the TestClick “Test trigger” to verify your connection is working correctly.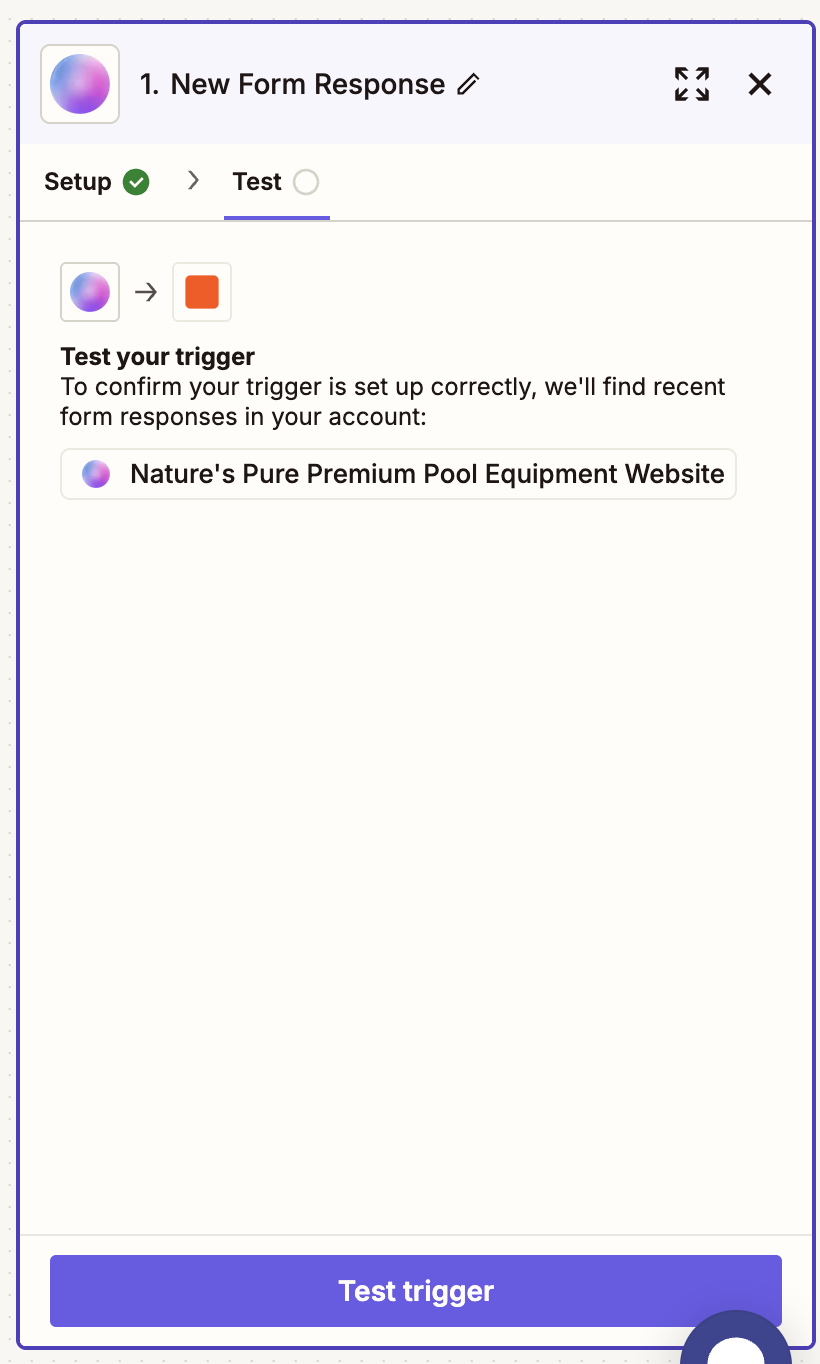
Choose Action App
Select the app you want to connect your form responses to. In this example, we’ll use Slack.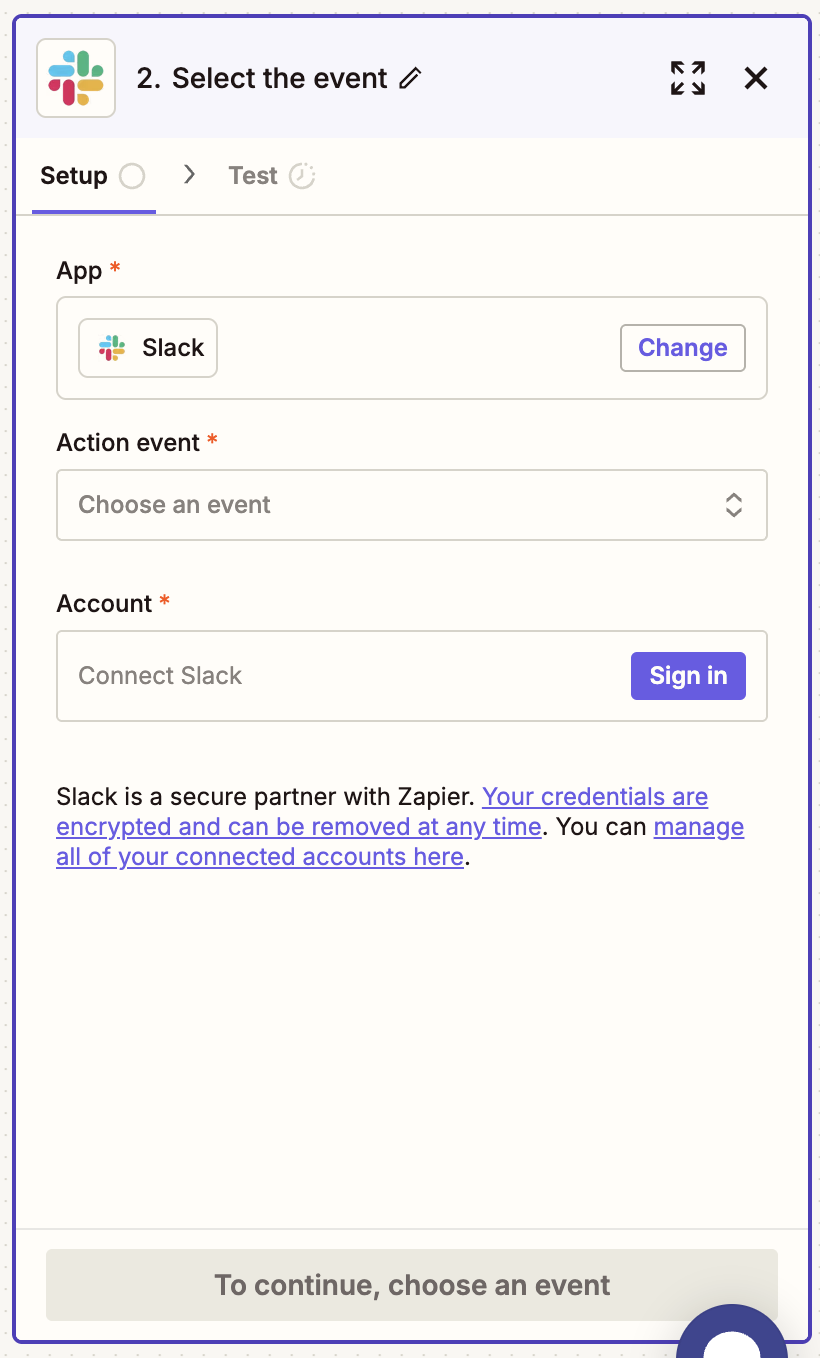
Map Form Data to Your App
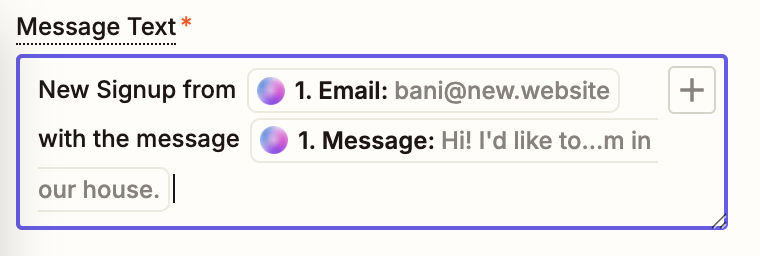
Step 10.1: Access Form ValuesFind the Message Text field and click the slash (/) to access dynamic data from your form response.Step 10.2: View Available DataYou’ll see all the available values from your new.website form response, including Name, Email, Message, and other form fields.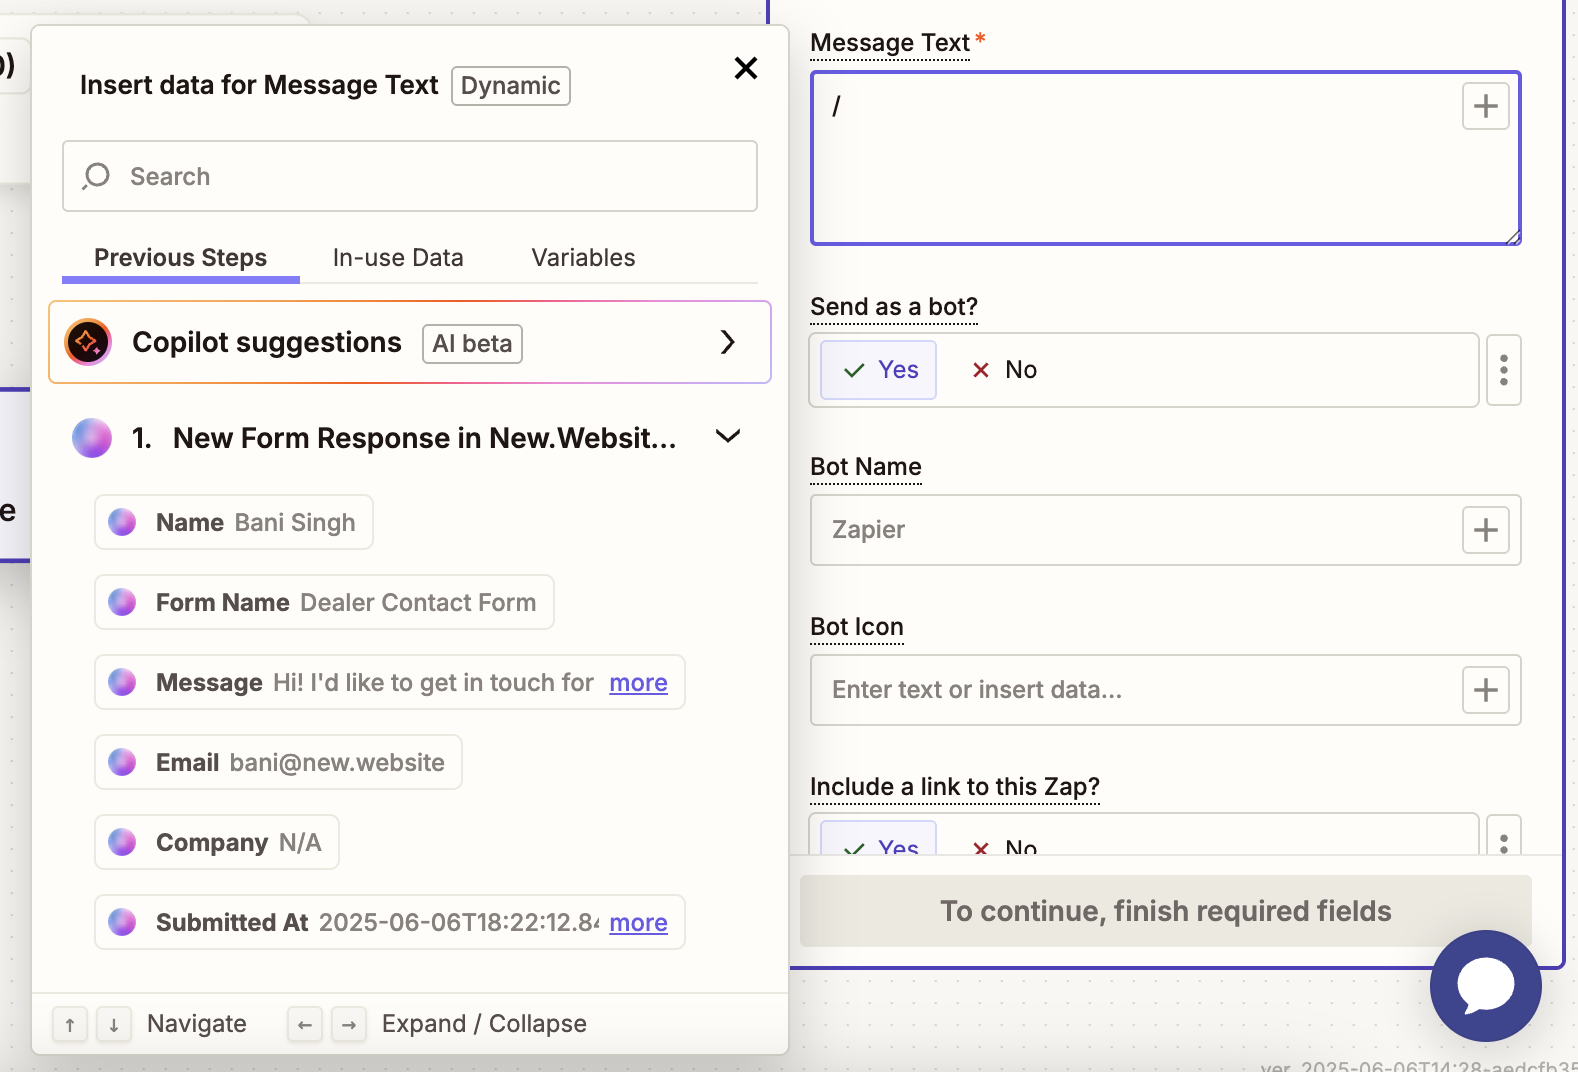
Test Your Integration
Step 11.1: Test the Slack MessageClick “Test step” to send a test message to Slack with your form data.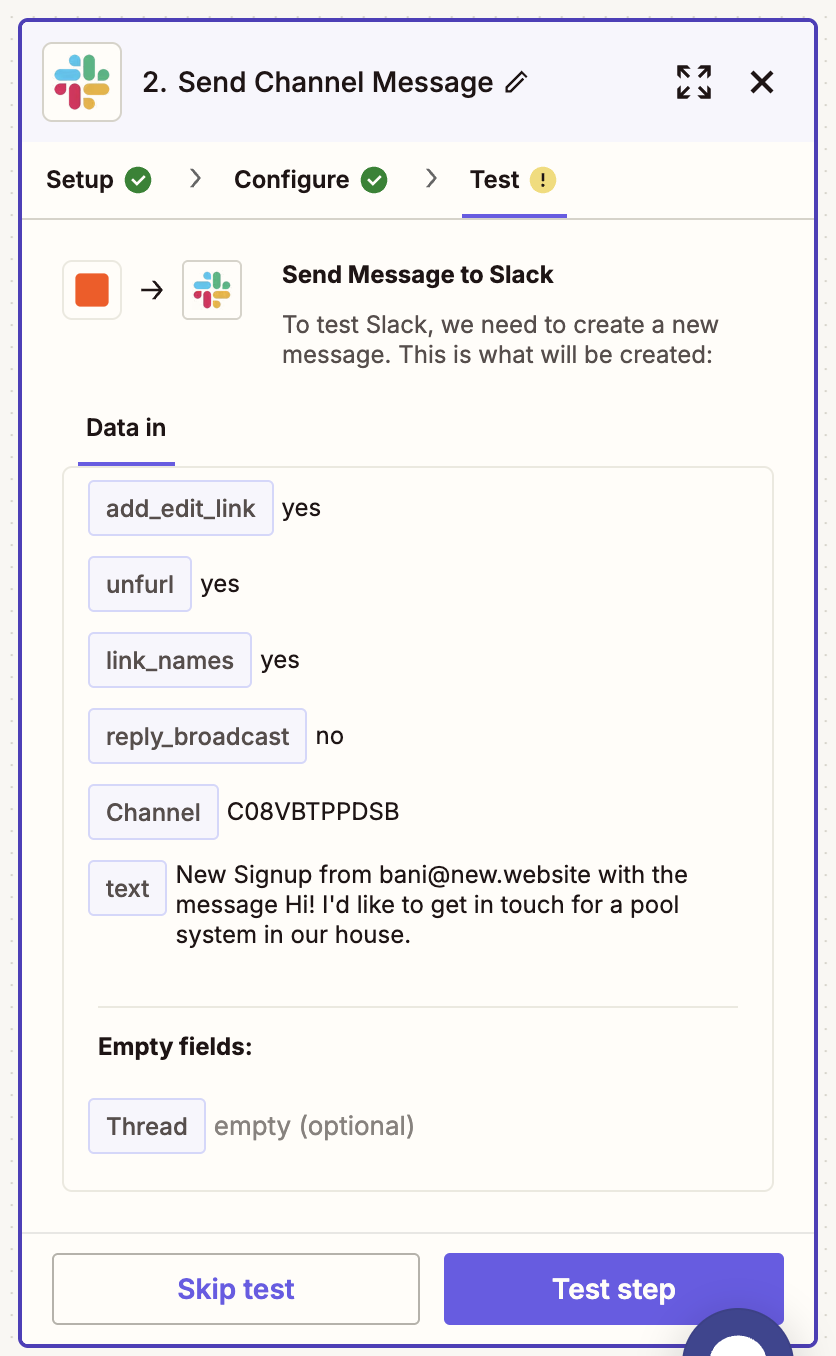

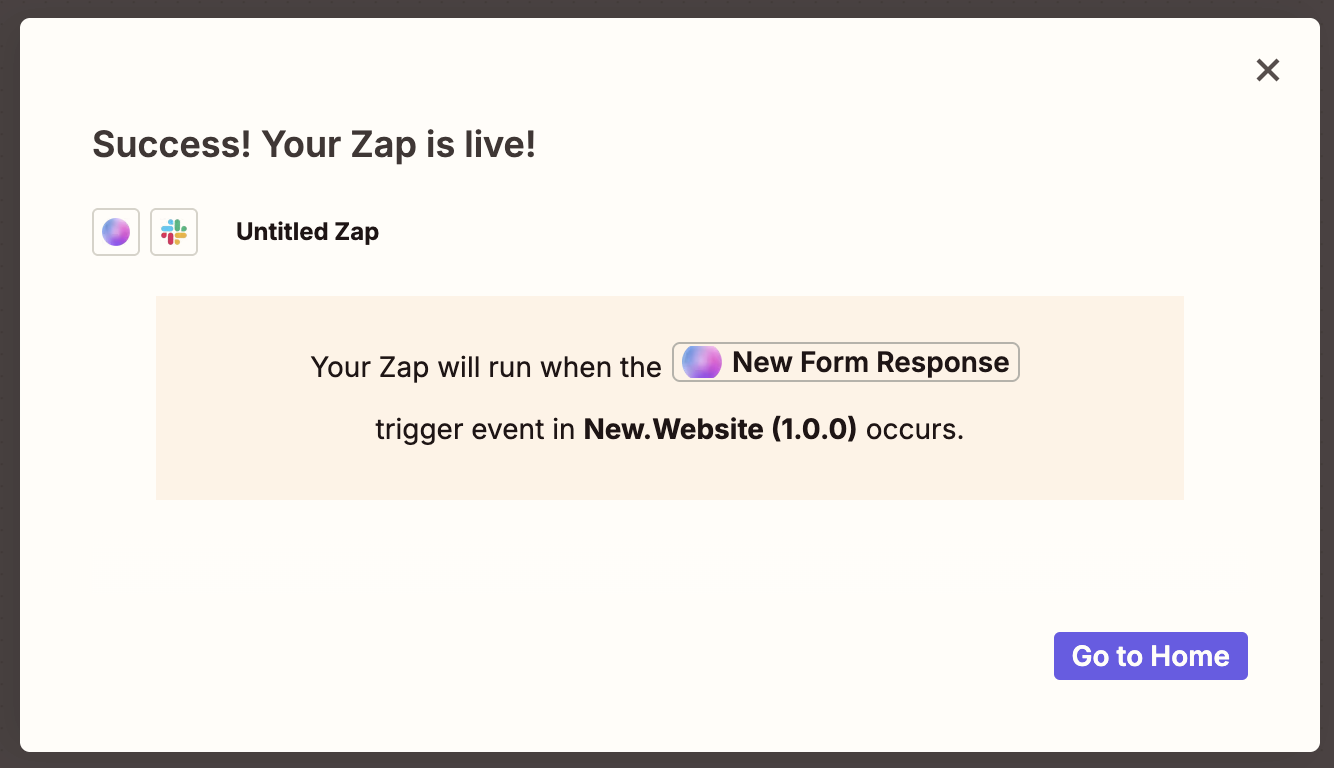
Publish Your Zap
Click “Publish” to activate your integration. Once published, every form submission will automatically send a message to Slack.
Frequently Asked Questions
How much does Zapier integration cost?
How much does Zapier integration cost?
Zapier integration is available with the Pro plan ($100/month). You may also need to pay for Zapier separately depending on your usage - check out their pricing here.
Do I need to reconnect Zapier for each form?
Do I need to reconnect Zapier for each form?
No, once you connect Zapier to your project, it will automatically capture responses from all forms in that project. You only need to set up the connection once per project.
What apps can I connect to with Zapier?
What apps can I connect to with Zapier?
You can connect to over 8,000 apps including Slack, Gmail, Microsoft Teams, Calendly, Google Sheets, Notion, Trello, MailChimp, and many more. Check Zapier’s app directory for the full list.
Will past form responses be sent to Zapier?
Will past form responses be sent to Zapier?
No, Zapier only processes new form submissions that occur after you set up the integration. Past responses remain in your dashboard but won’t trigger Zapier workflows.
Can I create multiple workflows for the same form?
Can I create multiple workflows for the same form?
Yes, you can create multiple Zaps for the same form. For example, you could send responses to both Slack and Google Sheets, or create different workflows based on form content.
What if my Zapier automation stops working?
What if my Zapier automation stops working?
Check your Zapier dashboard to see if there are any errors or if your Zap is turned off. Common issues include expired account connections or reaching Zapier plan limits. You can also test your trigger in Zapier to troubleshoot.
Can I filter which form responses trigger workflows?
Can I filter which form responses trigger workflows?
Yes, in Zapier you can add filters and conditions to your Zaps. For example, you could only send notifications for responses that contain certain keywords or come from specific forms.
Is my form data secure when using Zapier?
Is my form data secure when using Zapier?
Yes, all data is transmitted securely between new.website and Zapier using industry-standard encryption. Zapier is also SOC 2 compliant and follows strict security practices.